TLDR;
To organize your home for a smooth renovation, start by decluttering and packing non-essentials, creating a master plan with a timeline and budget, and preparing your living space and storage. Thoughtful planning and proper organization reduce stress, prevent delays, and protect your belongings during the process.
Why You Should Organize Your Home Before Renovation
Renovating without organizing first is like setting sail without a map—you’ll likely hit delays, overspend, or damage valuable items. That’s why it’s so important to prep your home for renovation before any work begins. Getting your home in order before any work starts sets the tone for a smoother, more efficient renovation.
Here’s why it matters:
- Disorganized spaces cause confusion, misplaced tools, and rework.
- Contractors work faster when the space is cleared and accessible.
- You avoid damage to personal items and sentimental clutter.
- Planning ahead helps prevent budget overruns and timeline delays.
At An Organized Life, we’ve seen firsthand how proper preparation transforms chaotic renovations into streamlined success stories. Our clients who planned ahead experienced fewer disruptions, better communication with contractors, and a more relaxed renovation journey.
Create a Whole-House Renovation Binder & Tracking System
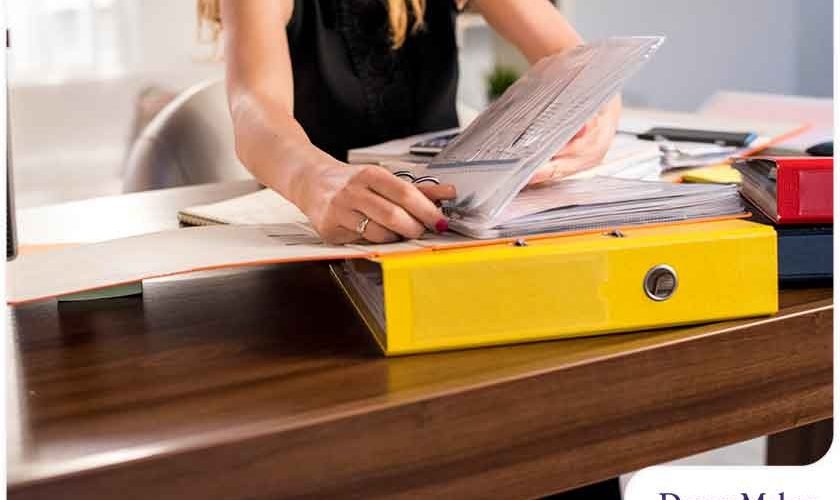
Your renovation needs a central hub for documents and plans. A physical binder (with dividers) or a digital folder can keep everything organized and accessible.
What to include:
- Timeline: Start/end dates for each room or phase
- Contractor Info: Names, licenses, contact details
- Budget Breakdown: Estimated costs vs. actual expenses
- Receipts & Permits: For warranties, taxes, and inspection reviews
- Floor Plans & Sketches: Helps during layout or furniture updates
Helpful tools:
- Google Drive or Dropbox for digital versions
- Trello or Notion to track tasks
- Label each folder clearly so everyone stays on the same page
This level of detail not only keeps you organized but also ensures nothing slips through the cracks once work begins.
Room-by-Room Renovation Prep Strategy
Approaching organization by room prevents overwhelm. Don’t try to do everything at once—start with the areas being worked on first and move outward.
Kitchen:
- Pack up dishes, small appliances, and pantry goods
- Label boxes clearly: “Kitchen – Fragile – Glassware”
- Use bubble wrap for breakables and dish packs for plates
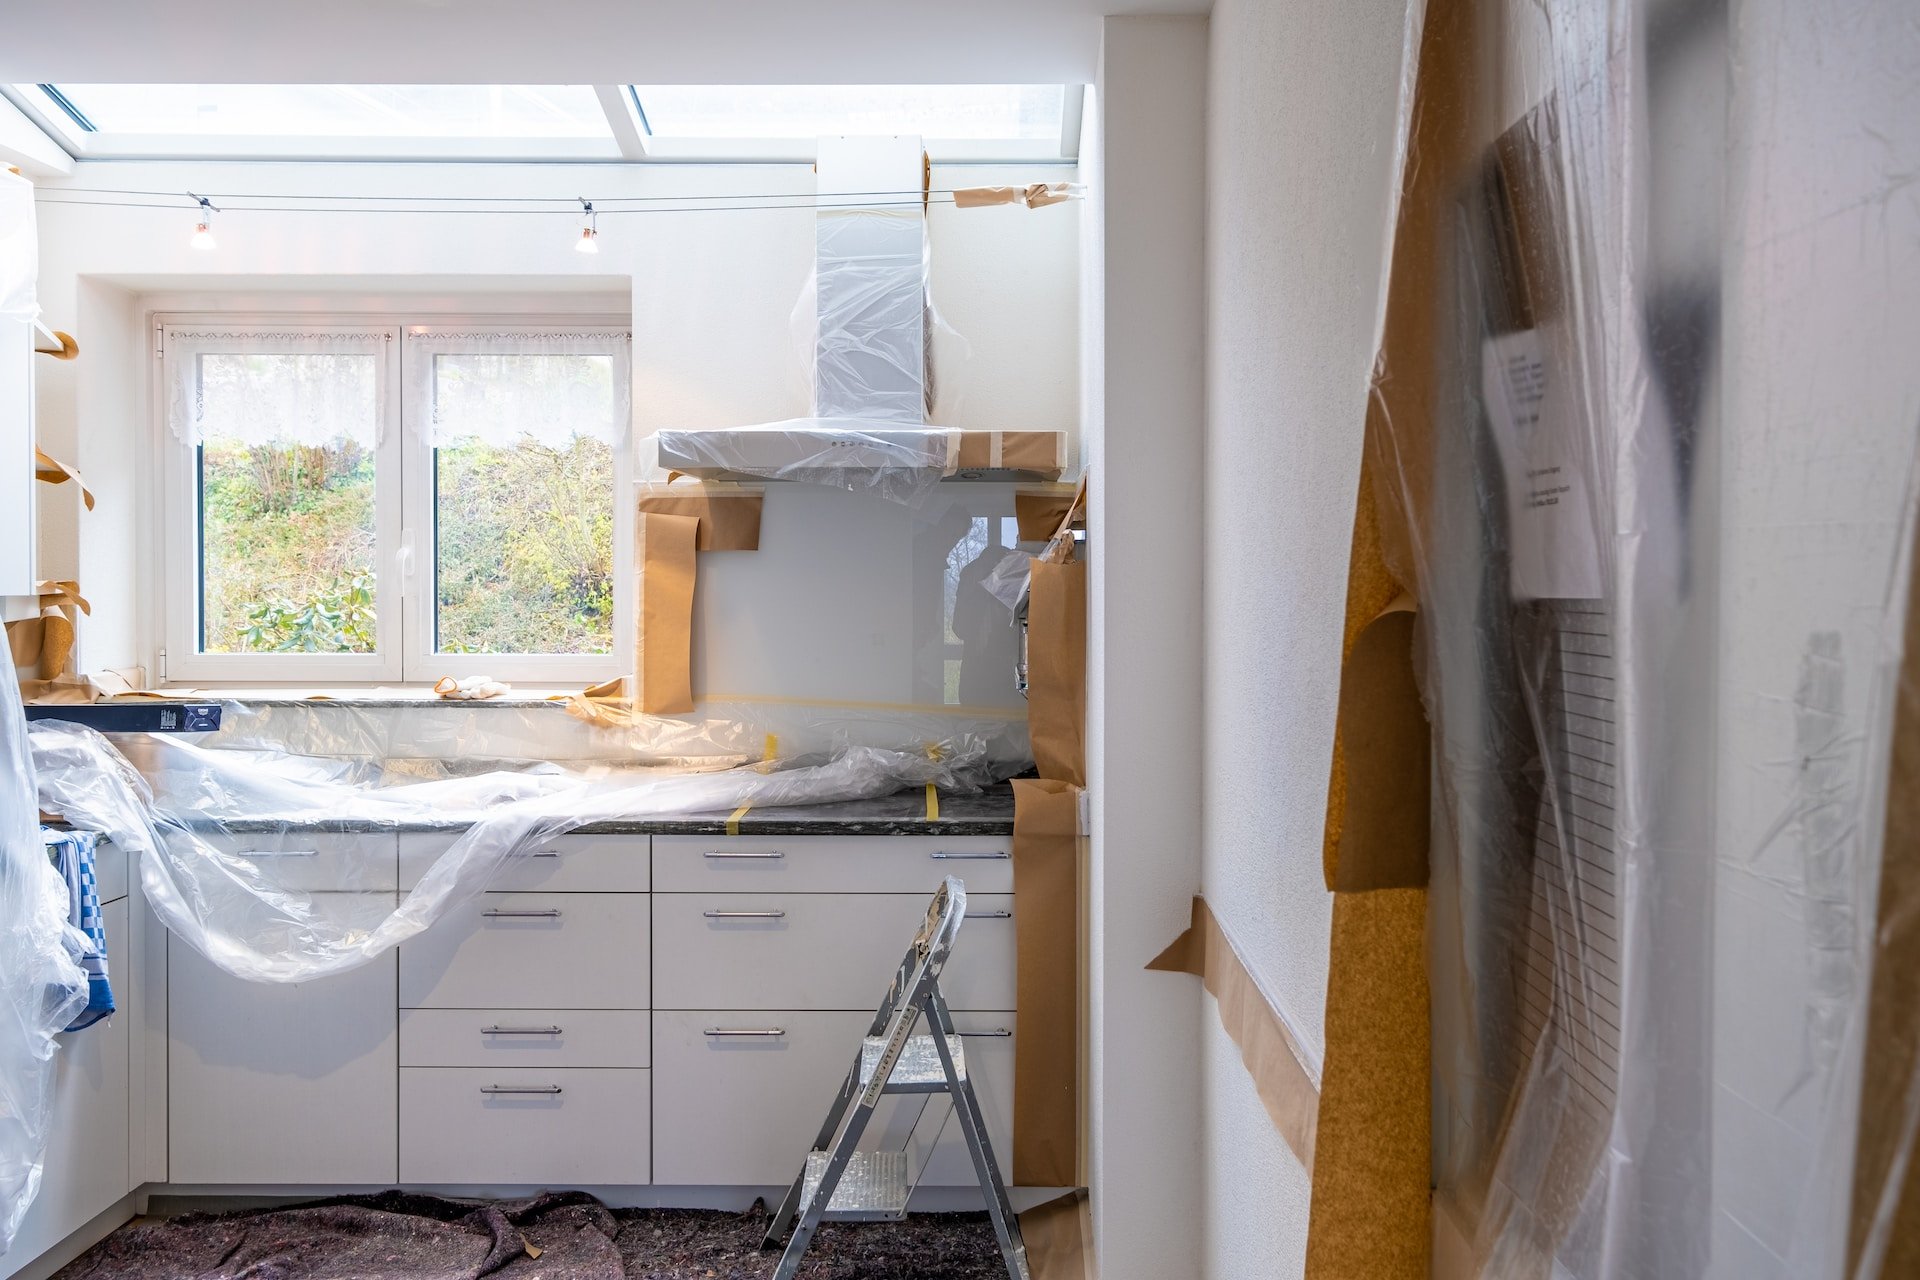
Bathroom:
- Remove all toiletries and medications
- Place shower items in a caddy for portability
- Cover toilet, sink, and tub with plastic sheeting
Bedroom:
- Box up seasonal clothes and under-bed storage
- Move furniture to protect floors or cover with drop cloths
- Remove artwork and mirrors from walls
Living Room:
- Store electronics in anti-static bags or foam cases
- Disassemble larger furniture if needed
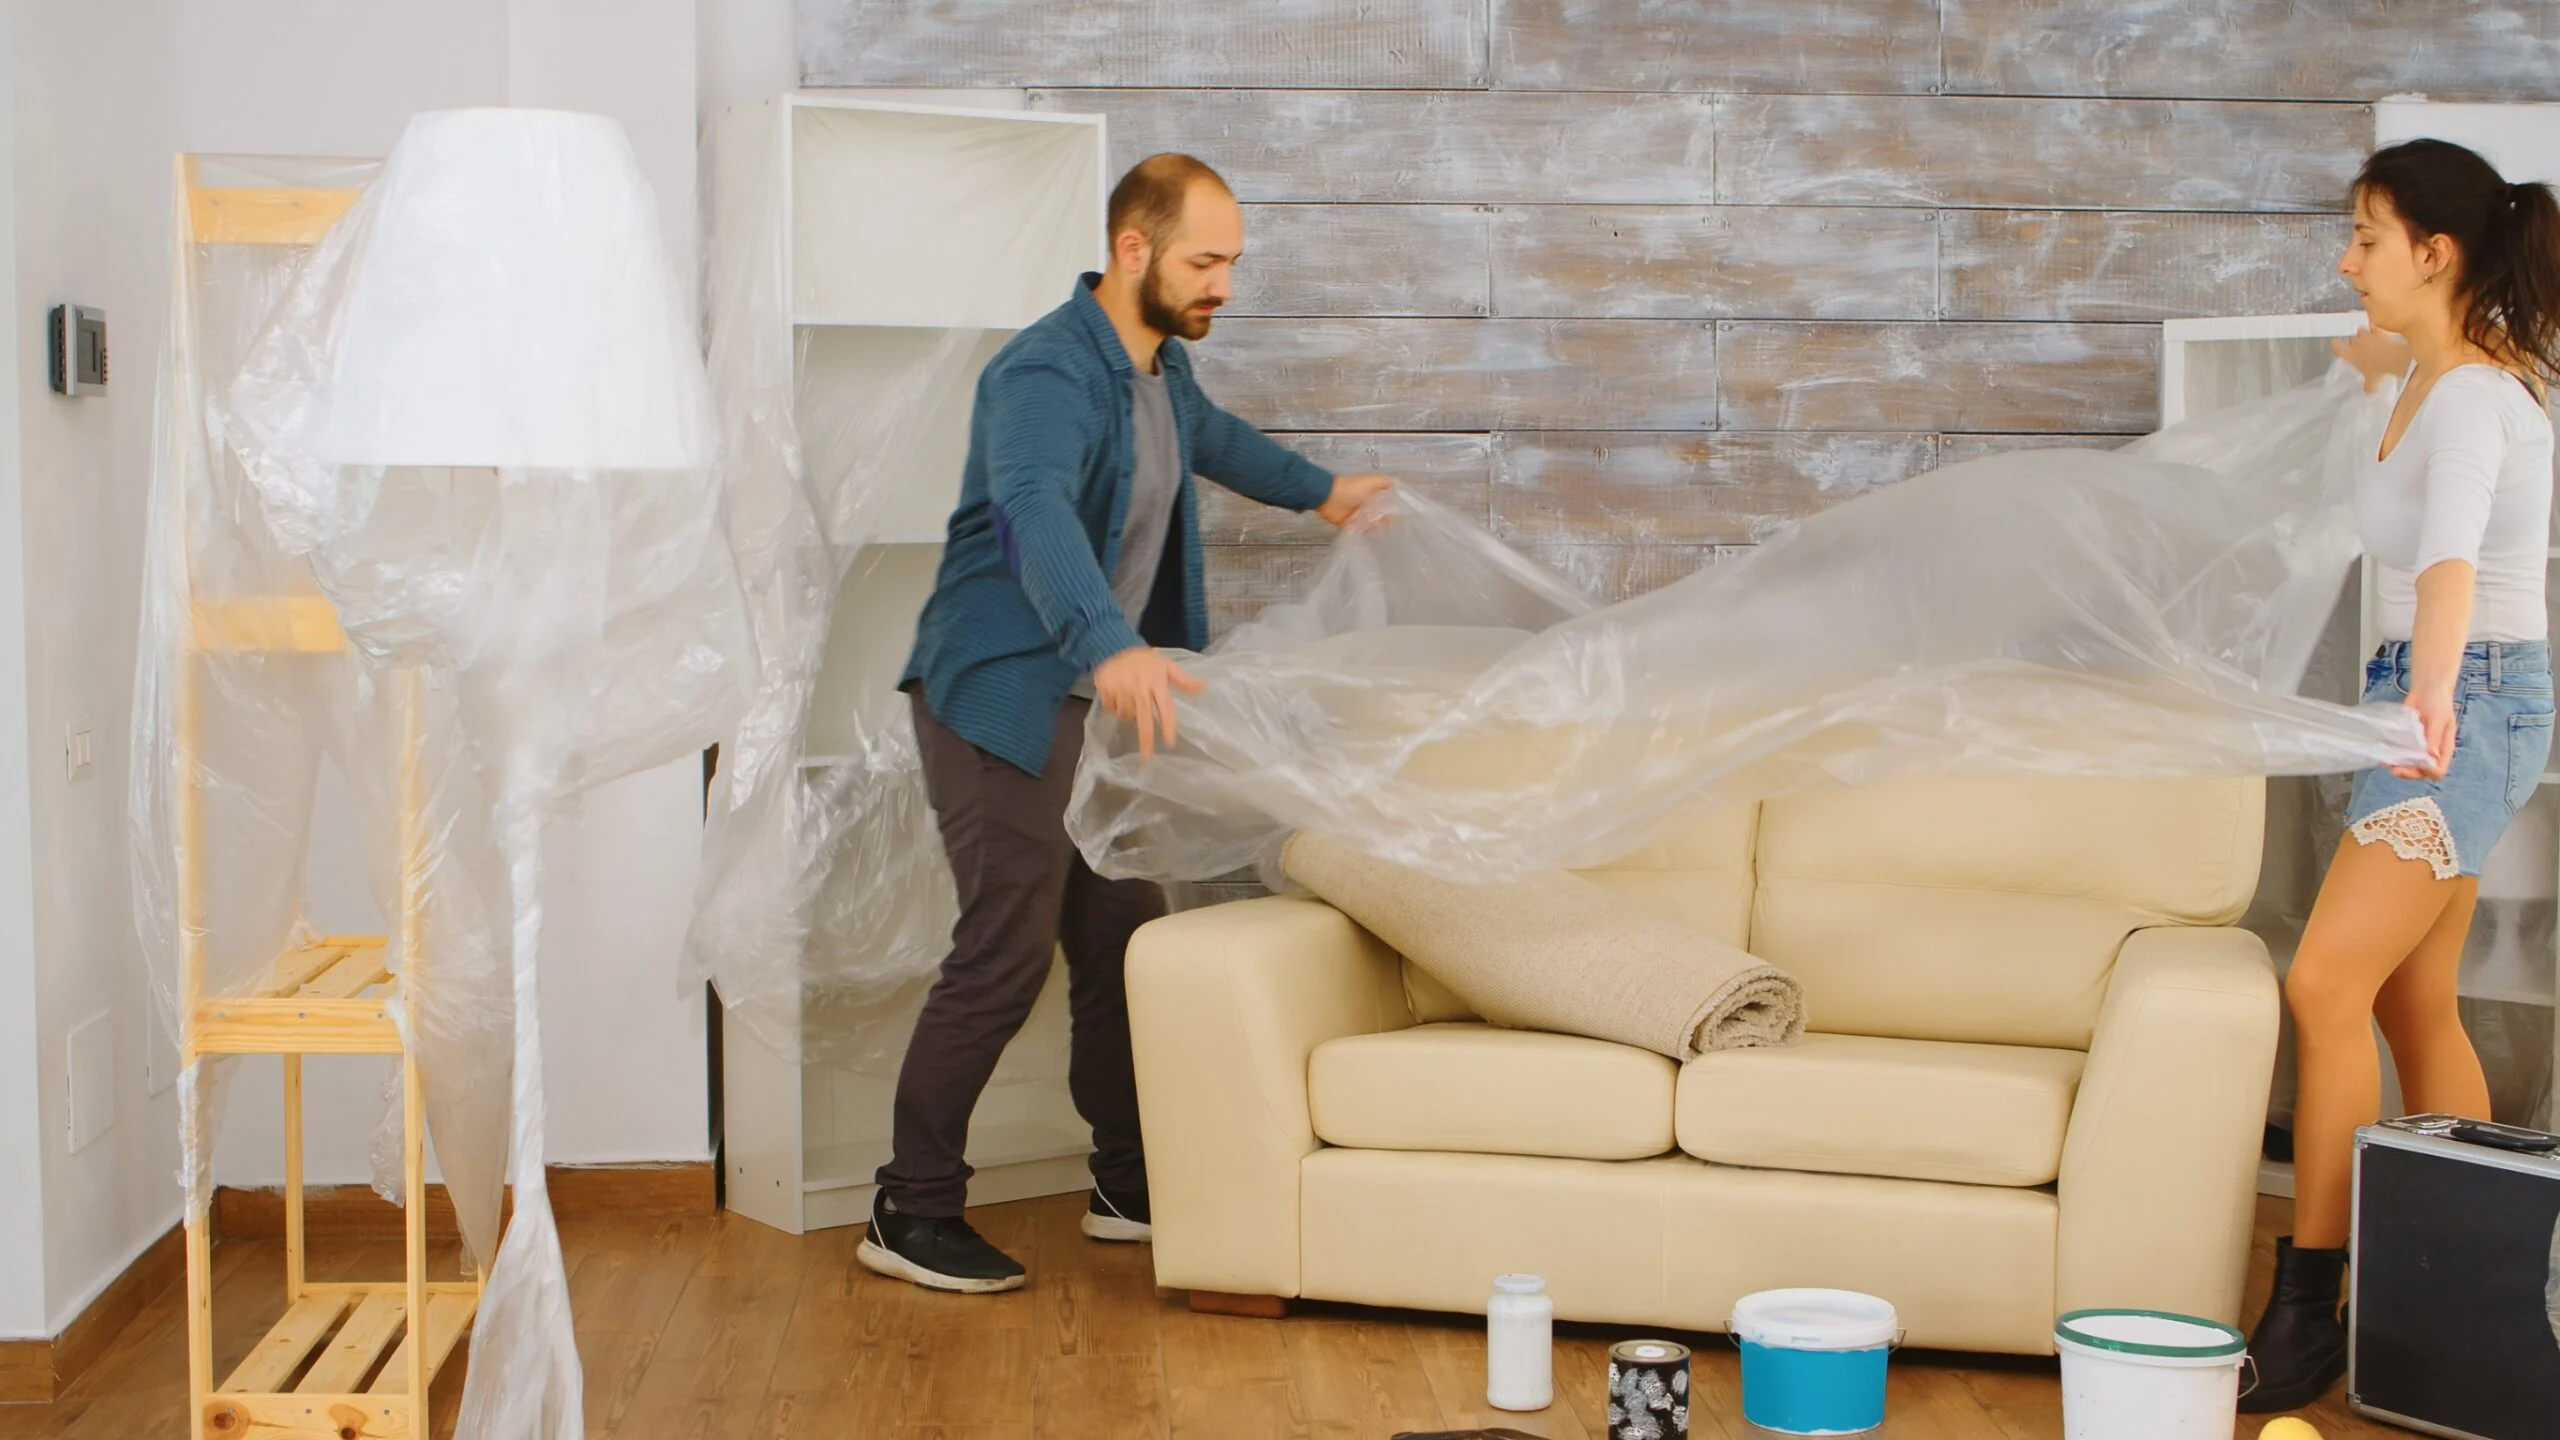
- Wrap wood furniture in moving blankets to prevent scratches
Home Office:
- Back up all digital files
- Disconnect cords and label them for easy reconnection
- Store printers and monitors in original packaging if available
This step-by-step system keeps your space functional while clearing the way for progress.
Decluttering Before Renovation: What to Let Go Of
A renovation is the perfect excuse to declutter. Fewer items mean less to move, clean, or worry about.
Use the 3-box method:
- Keep: Essential or deeply sentimental items
- Donate: Good-condition items you don’t use
- Discard: Broken or outdated things
You can also try the SPACE method (Sort, Purge, Assign, Containerize, Equalize) or KonMari if you need a structured approach.
Tips:
- Be honest about what you really use
- Sell items online or hold a garage sale
- Consider the layout of your future space—will the item fit?
Clients of An Organized Life who declutter first always feel lighter and more in control once construction begins.
How to Label, Pack & Store Belongings During Renovation
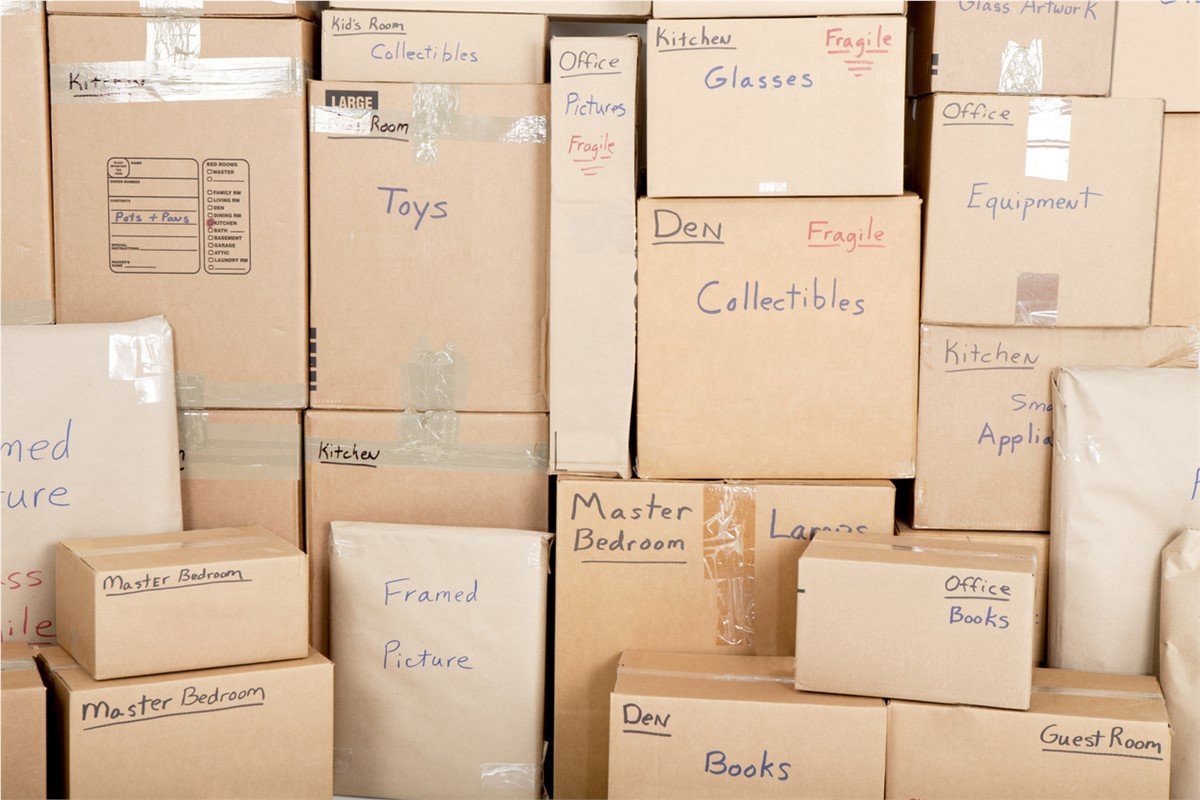
Misplaced belongings create stress and delays. Smart labeling and packing help avoid confusion.
Here’s how:
- Use color-coded labels per room: blue for kitchen, red for bath, etc.
- Include priority labels: “Open First” or “Long-Term Storage”
- Keep hardware (screws, brackets) in Ziplock bags, labeled and taped to disassembled pieces
- Create an inventory spreadsheet of what’s packed and where it is
Use sturdy boxes, not cheap cardboard. Consider:
- Plastic bins for valuables or items stored long-term
- Bubble wrap and packing paper to cushion fragile items
- A “daily essentials” box for toiletries, medications, and chargers
This organization system ensures you know exactly where everything is—even months into the renovation.
Where to Store Furniture and Belongings During Renovation
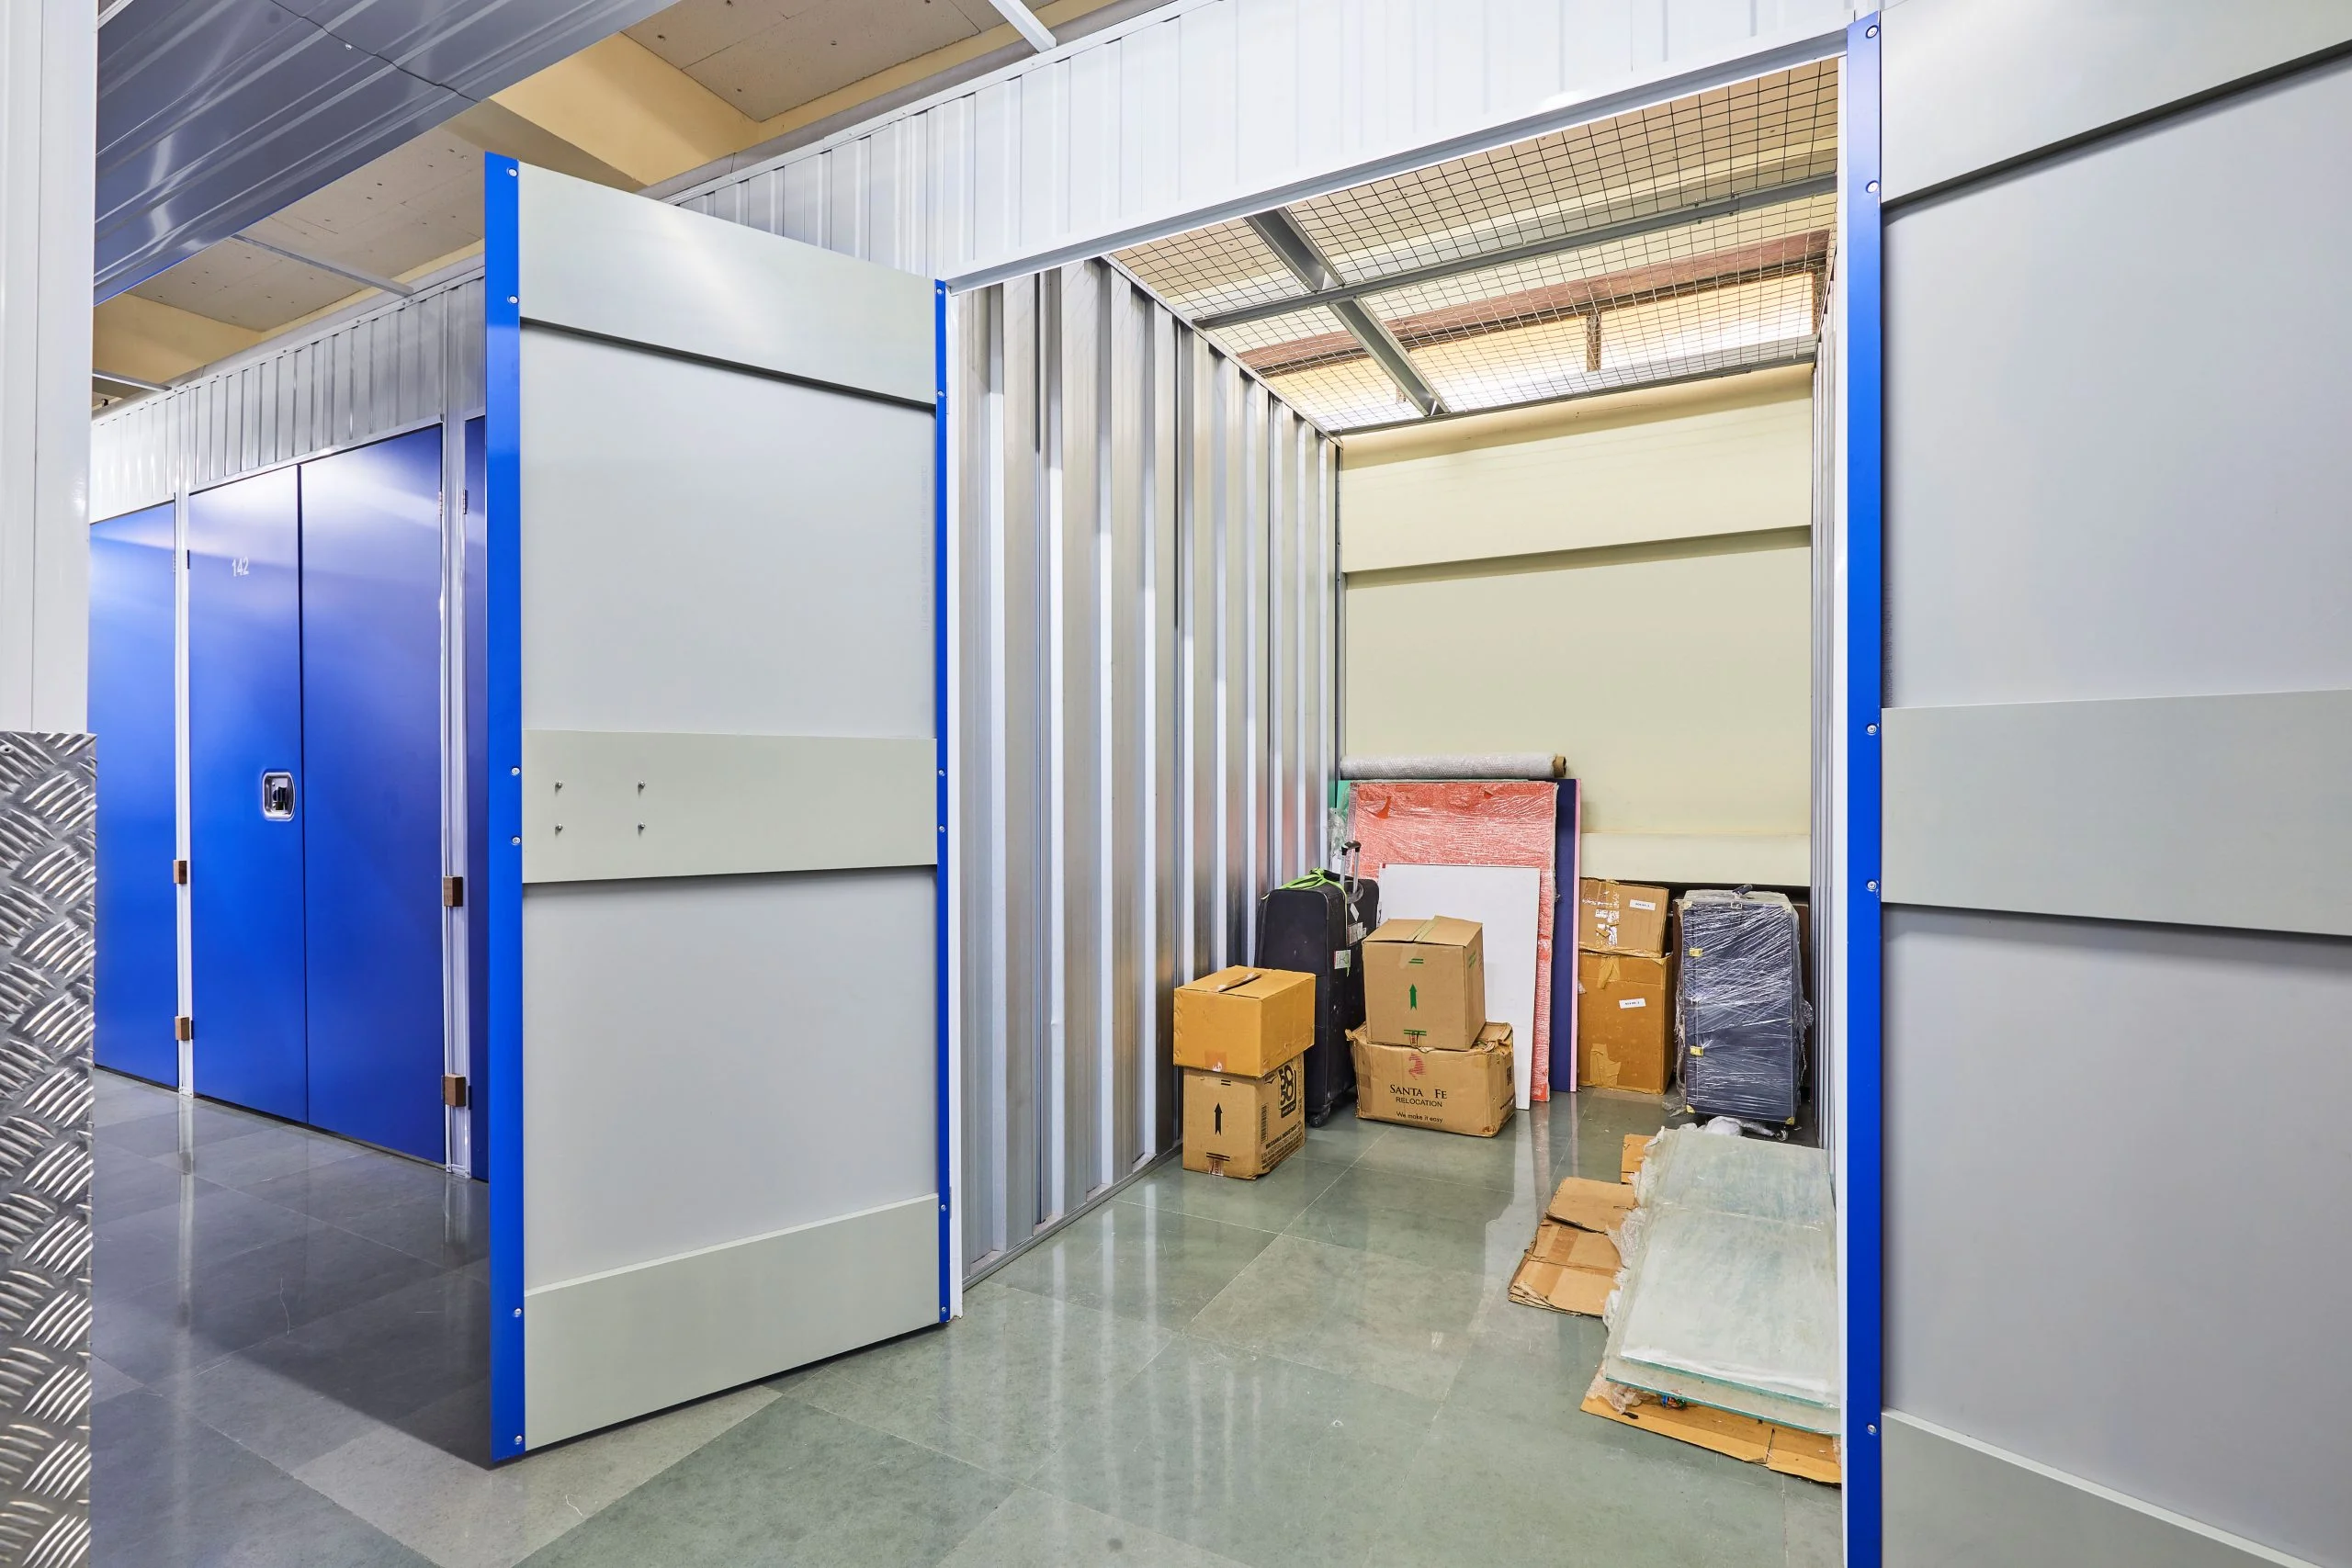
Space is tight during a remodel, so plan storage early.
Options:
- Portable Storage Units (PODS): Delivered to your driveway
- Self-Storage Units: Best for longer renovations or sensitive items
- Spare Room or Basement: If available, create zones for each room
Protect furniture by:
- Using plastic sheeting or moving blankets
- Elevating items on pallets if stored in a damp area
- Keeping electronics in climate-controlled environments
Label all storage areas and ensure easy access to high-priority boxes.
How to Protect Furniture, Appliances & Valuables

Construction dust and tools can quickly ruin expensive items if you’re not careful.
Simple protection methods:
- Wrap furniture with blankets or plastic
- Use shrink wrap for upholstered items
- Place rubber mats under large appliances
Protect electronics by:
- Unplugging and covering with anti-static plastic
- Moving them out of the renovation zone entirely
- Storing in their original boxes, if possible
Don’t forget:
- Update your homeowner’s insurance to cover stored or off-site items during the remodel
How to Manage Daily Life, Kids, and Pets During Renovation

Living in a renovation zone is hard—but manageable with a plan.
For kids:
- Set up a safe play space away from tools and dust
- Stick to routines—bedtime, meals, schoolwork
For pets:
- Use baby gates or closed doors to limit access
- Try white noise machines to mask loud construction sounds
- Consider daycare or a pet sitter during intense phases
For yourself:
- Create a temporary kitchen using a microwave, mini fridge, and folding table
- Use disposable dishes to avoid daily cleanup
- Have a routine—even if it’s simple—to stay grounded
Many of An Organized Life clients tell us this is the phase they dread most. But with the right planning, it becomes manageable and even empowering.
Budgeting, Timeline & Permits: What to Organize Upfront

Renovations often go over budget and timeline—but not when you plan ahead.
Start here:
- Budget 20–25% extra for surprises (they always happen)
- List each project with an estimated cost and timeline
- Track spending weekly to stay on target
Permits:
- Research which permits are required for your area
- Apply early—they can take weeks to process
- Post them visibly at the job site as required
Use a shared calendar with your contractor to track:
- Inspection dates
- Material delivery
- Crew arrival and end dates
A structured plan prevents chaos, keeps costs under control, and ensures you’re legally compliant.
What to Do the Day Before Renovation Starts
The day before your renovation isn’t just another day—it’s your last chance to set up for success.
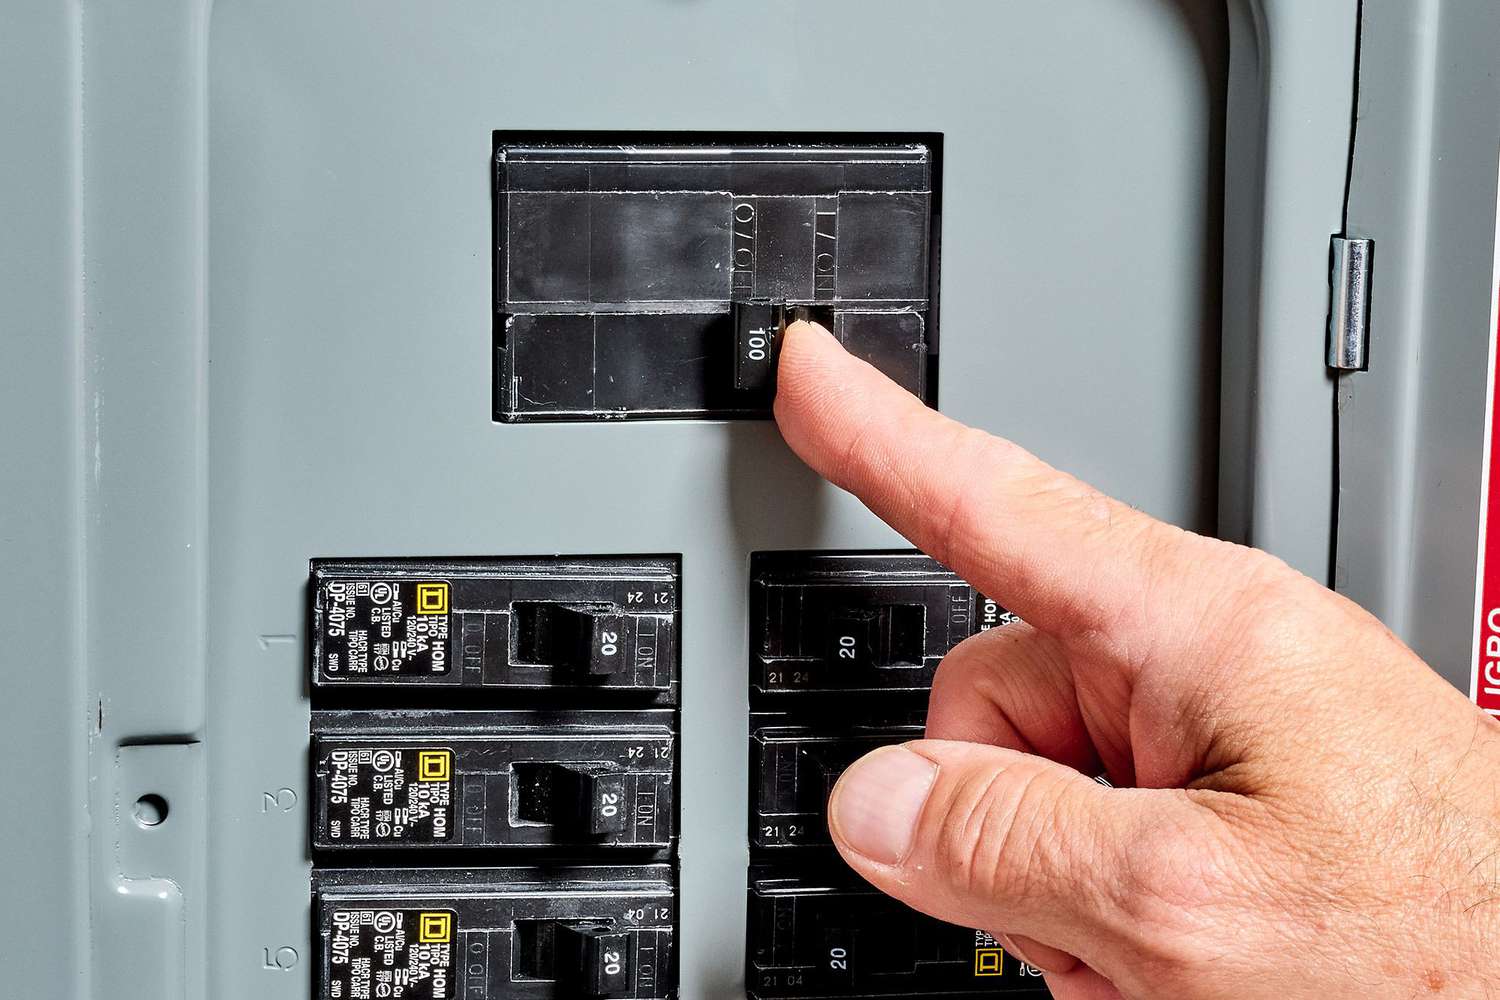
What to do:
- Turn off or protect utilities (water, gas, electric) if advised
- Clear entry paths for workers and materials
- Remove wall hangings, mirrors, and shelves
- Walk through your home and take photos for insurance
- Confirm with your contractor: scope, timeline, expectations
Final touches:
- Lay down floor protection if not provided
- Put pets in a safe zone or arrange for boarding
- Double-check that valuables are out of harm’s way
This prep sets the tone for the entire remodel.
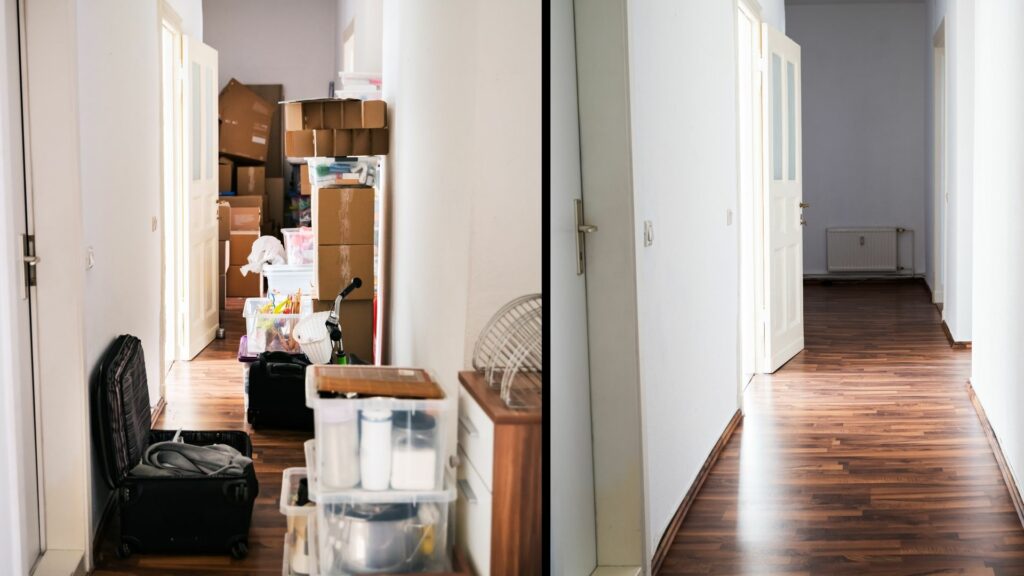
How to Reorganize After a Renovation

Once the dust settles, resist the urge to dump everything back in place. This is a chance to rethink how you use your space.
Steps to follow:
- Unpack gradually, one room at a time
- Prioritize function over habit—just because it used to go there doesn’t mean it should now
- Consider new storage systems that suit your updated layout
Ask yourself:
- Do I still need this?
- Is there a better way to store or display it?
- Can this room be more efficient or peaceful?
This is where you truly feel the benefit of organizing before your renovation—bringing back only what adds value to your life.